Don't see your college on Praksha yet?
Requesting your college only takes a few minutes. Here's exactly how it works, step by step.
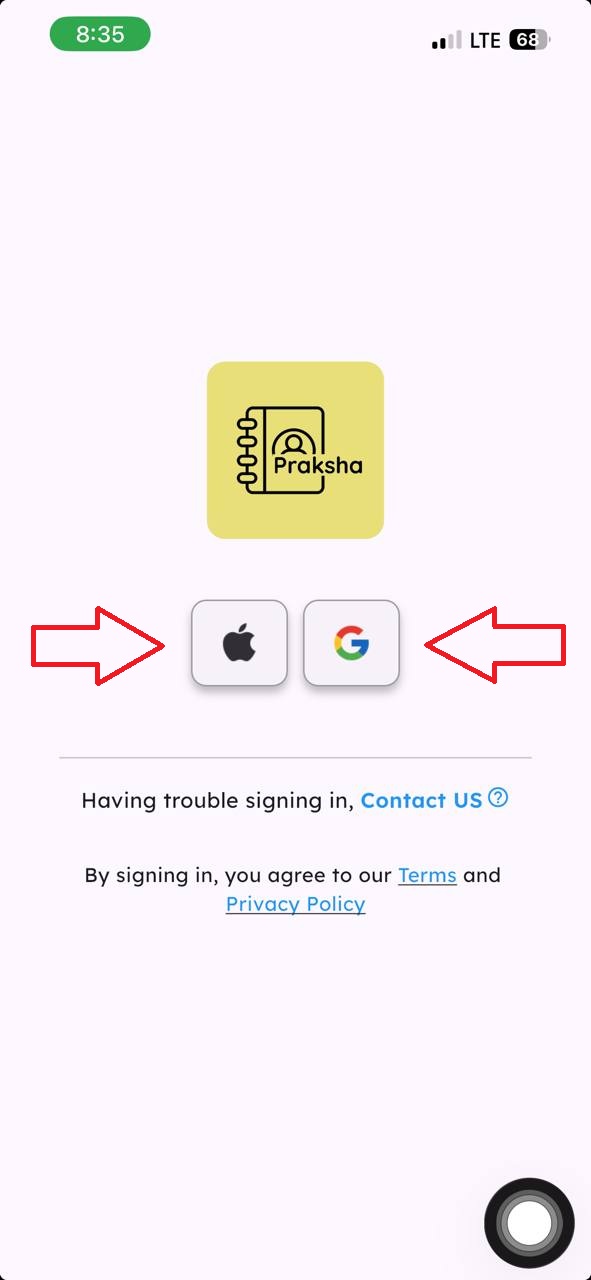
Sign in to Praksha
Open the app and sign in with Apple or Google. This just creates your Praksha account — it has nothing to do with your college portal.
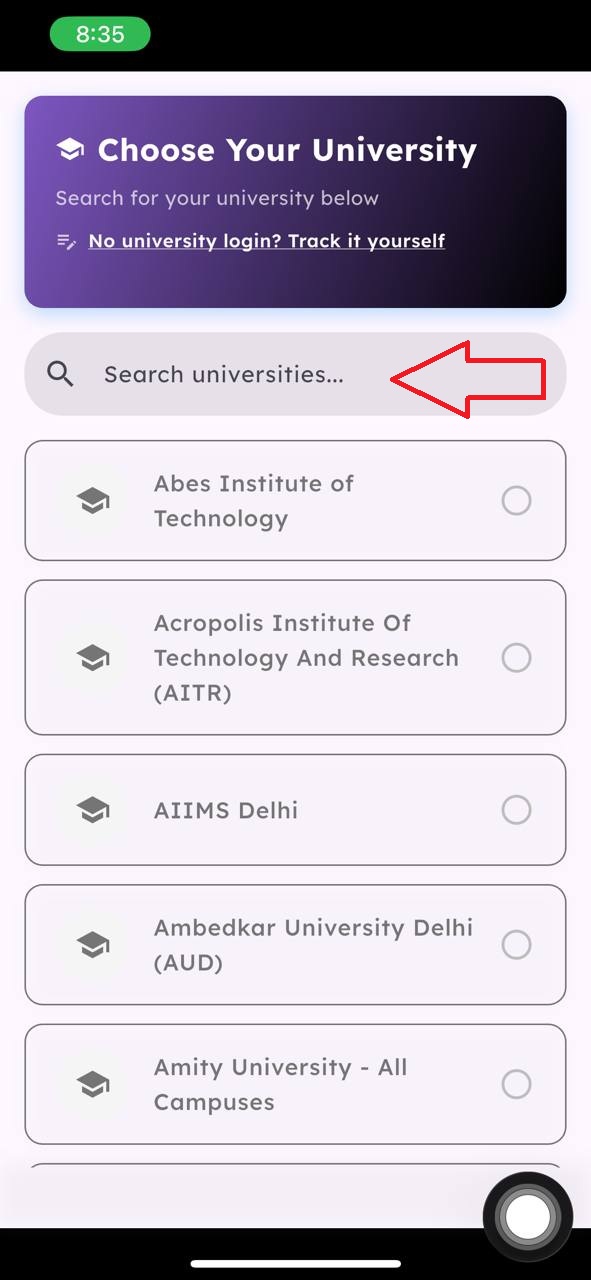
Search for your university
On the Choose Your University screen, search for your college by name. If it's already supported, just pick it from the list and you're done.
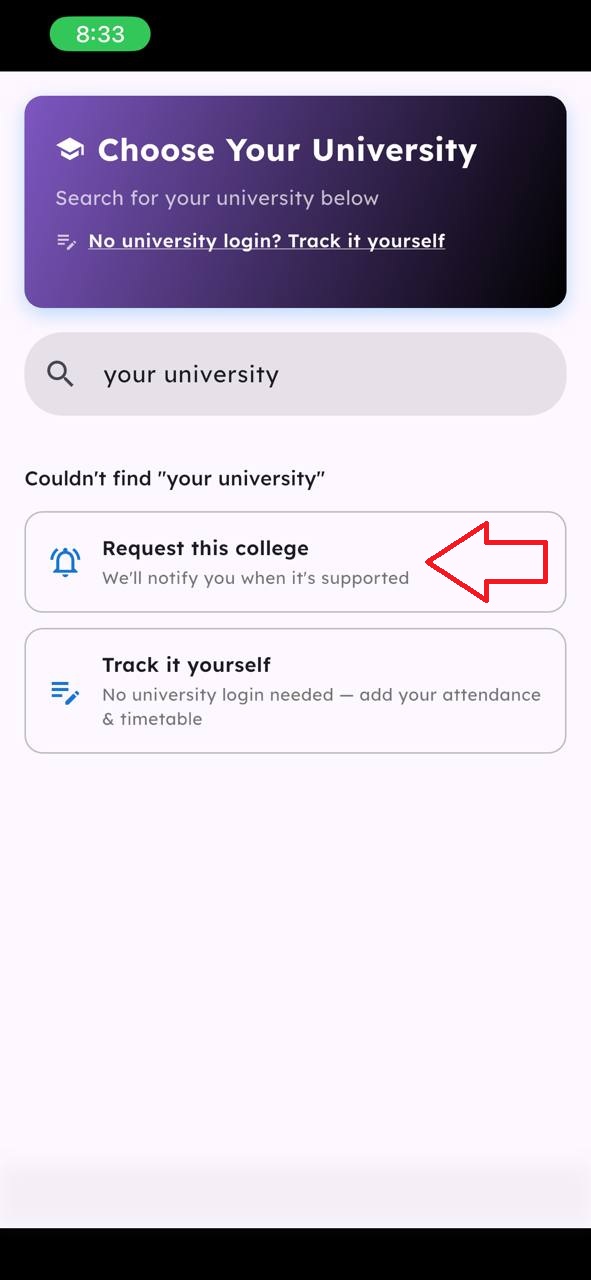
Not listed? Request it
If your college doesn't show up, you'll see two options: Request this college, and we'll notify you once it's supported — or Track it yourself, which needs no college login at all, just add your attendance & timetable manually.
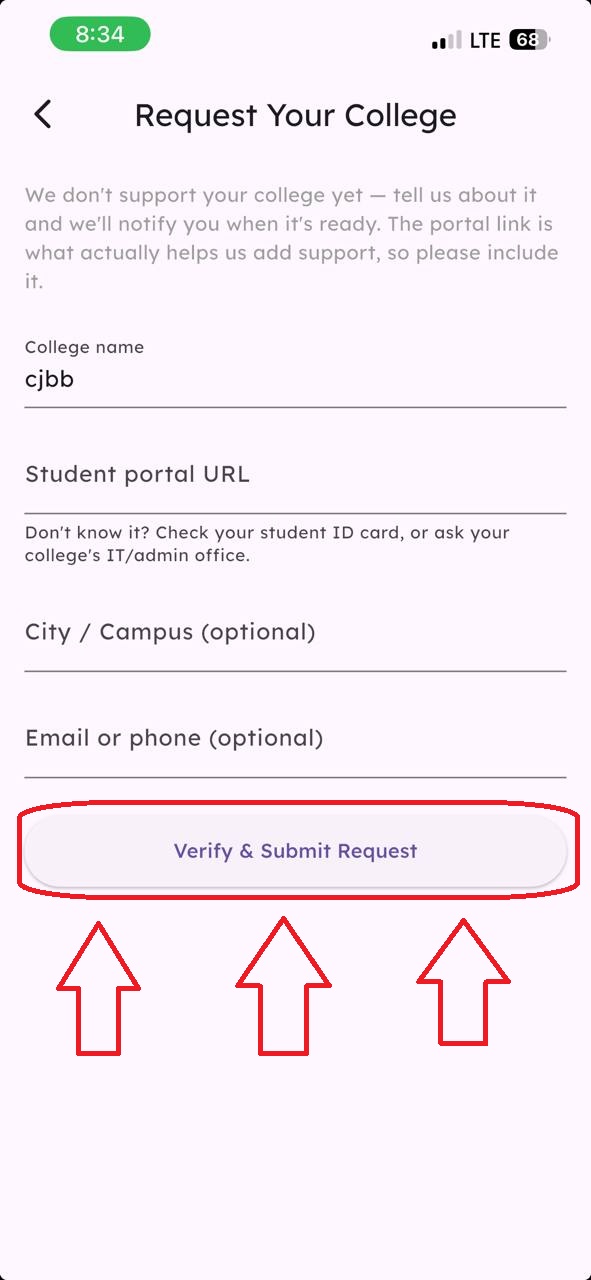
Fill in the request, then verify
Add your college name and your student portal URL — check your student ID card or your college's IT/admin office if you're not sure what it is. City and contact info are optional. Tapping Verify & Submit Request opens your college portal in an in-app browser and asks you to log in, so we can confirm the link is a real, working student portal before it goes into our queue to build support for your college.
Why do I need to log in to submit a request?
Logging in during Verify & Submit lets us confirm the link you shared is a real, working student portal before we spend time building support for it — instead of adding college names based on a URL alone that might be wrong, outdated, or not a login page at all.
Ready to request your college?
Get the Praksha app, sign in, and submit your request in under a minute.
Get the Praksha app